Showing posts with label garboard plank. Show all posts

Friday, December 6, 2013

Getting To The Bottom Of It


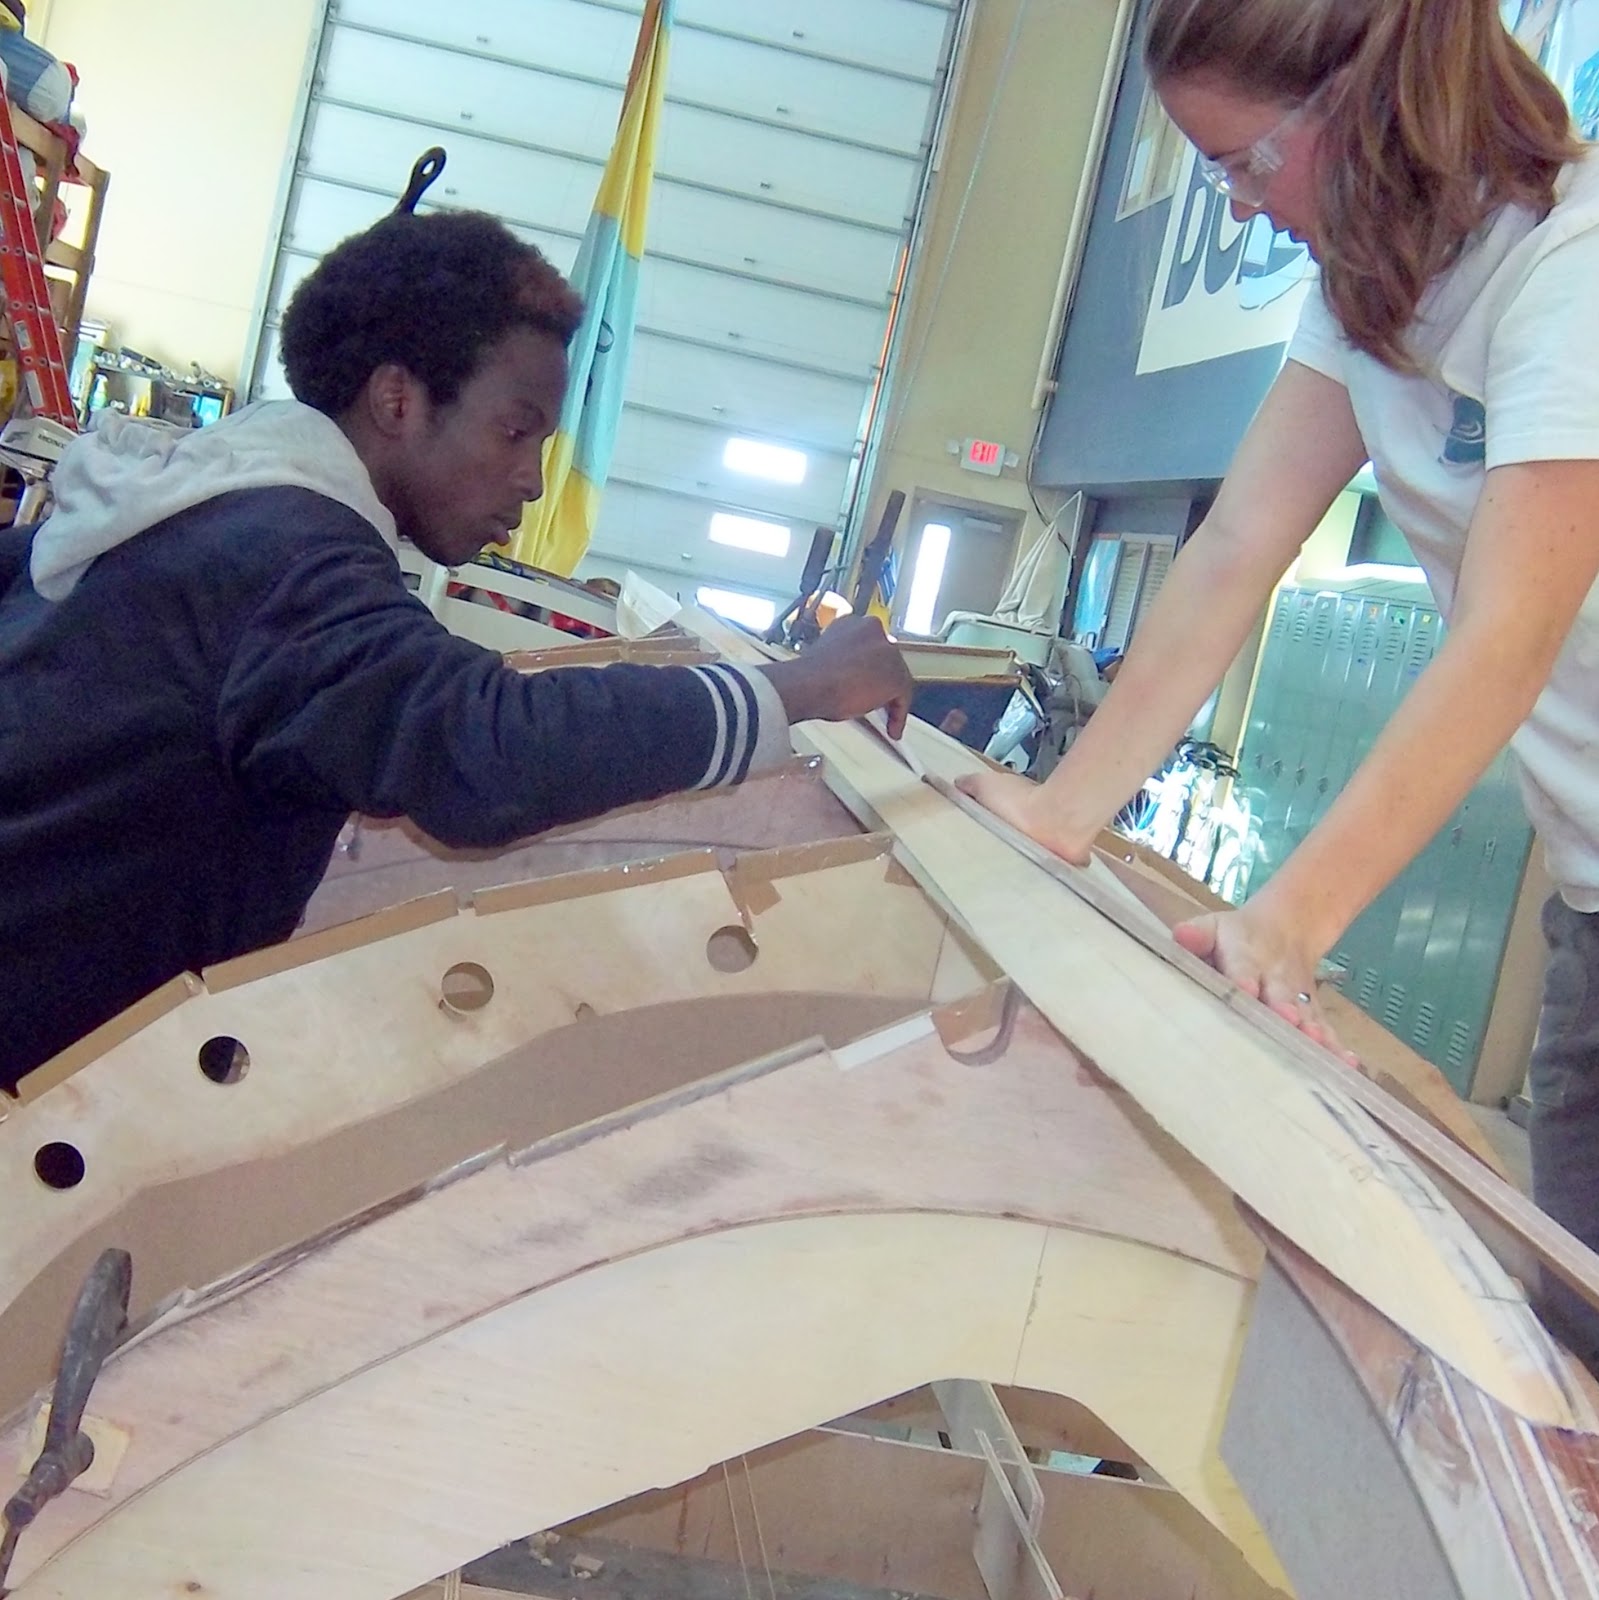
We dry-fit both garboard planks on the boat to mark out where the epoxy goes.  This is also necessary to double check that the planks are fair along the set up, everything fits properly, and we have all the clamps and tools ready for when we glue. 
Still dry-fitting, we used the screws as clamps at the bow and the stern.  

We clamped the port side plank in place after the epoxy was applied.
Spreading the epoxy on the keelson in preparation for gluing the starboard plank on.
Spreading unthickened epoxy on the garboard plank.

We used screws as clamps until the glue cures.  We waxed the threads of the screws with beeswax to make them easier to remove.
Thanks to the generosity of the Erie General Electric Employee Community Service Fund, we have a new Sharp Aquos Interactive Touch Board.  We used it for blogging this morning.  Thank you!

Friday, November 16, 2012

port side garboard plank


We dry fit the port side garboard plank and glued it to the boat. Then we cleaned the squeeze out using a putty knife.

We clamped the garboard to the stem while waiting for the glue to dry.


We glued up plank 2; while we waited for the glue to dry, we used a spoke shave to bevel the frames on the boat.


Friday, November 9, 2012

Garboard plank


We dry fit the garboard plank with C clamps and bar clamps to look for gaps, then we had to retape the molds so they don't get glued to our boat. Next, we had to file down the frames to a right angle so that the garboard plank fit properly. Finally, we traced to mark spots in order to know where to spread epoxy on the keelson, frames, stems and also on the garboard plank.
We spread epoxy on the starboard side of the hog and on the garboard plank.
After we applied epoxy we clamped, screwed, and put weights on every square inch. The most difficult part was clamping the twist of the garboard plank at the bow and stern. Then we cleaned up the squeeze out using a putty knife. THE BEST PART NOW IS THAT WE ARE A SIXTH DONE WITH ONE SIDE!

Friday, October 26, 2012

The beginning of the beginning!


Using a plumb bob, we found the center line on the floor to double check where our stem support brackets were landingThey were perfectly in line with the rest of our set up!  We used the caulking gun to glue the stand to the floor to support the stems.


We put the glued up garboard planks on to the setup to see how they fit, they look great!

Finally! We are epoxying the hog to the stems and frames. 


We clamped it up and double checked to make sure it was centered on our marks. Then we cleaned up the excess epoxy.

Friday, October 19, 2012

The start of the garboard plank

We are squaring up the molds using the speed square and clamping the keelson in place.
We are gluing the garboard plank, which is the first plank to go on our set up. While lining up the scarph joints, we made sure the hole points were in a straight line using a level.

Before gluing up your first planks, it is SO IMPORTANT to watch this video about plank glue ups.  Forward to the 5 minute mark - the first part of the video is about different techniques for cutting scarph joints.  Study the sheets in the plans and mark the holes that you are supposed to line up!