Showing posts with label gluing. Show all posts

Friday, March 22, 2013

Having a Keeler Time!


Having fun writing the blog.


Putting epoxy on the bottom of the keel. We also spread epoxy on the boat where the keel will sit.

Putting the keel on the bottom of the boat.
Lining the registeration marks up on the keel and boat.

Underneath the boat putting in screws.

Cutting off part of the keel.

Planing down the keel so that it is even with the stem.

Friday, March 15, 2013

"What We Can Do When We Work Together" - N.F.


We used a Skilsaw and a cut - off guide to cut the stem.
This is a close up of our bow stem .
Clamping on the bow stem with ratchet straps .
A close up of the front of the boat . We scuffed up the inner stem using a razor knife .


We're putting epoxy on the stem of the St. Ayles Skiff to glue on the outer stem. In the backround we are sanding our gunwales.


Spreading epoxy on the stern to attach the outer stem.  
We used a chop saw to cut an angle into the front end of the keel.

A close up of our scarph joint at the bow, where the keel meets the stem.

Clamping on the keel using ratchet straps and C clamps. This was done in order for it to be straight and centered.  


Thursday, February 28, 2013

2 Stems Forward


We tightened the lag screws on the cradle using a ratcheting wrench.

We had to prepare for laminating the bow stem. We layed out 11 laminations and numbered them. In the background is our cradle.

We started putting unthickened epoxy on the laminations to soak into the wood. Then we put thickened epoxy on the laminations so that it fills in the gaps.


Once we applied the epoxy to the laminations, we instantly bent them over the bow of the boat. We put ratchet straps over the outer stem while the glue cured.

We finished putting all of the ratchet straps over the outer stem.


We started putting epoxy on the other laminations to make the stern stem.


We aligned the laminations at the stern stem using a rubber mallet.

We cut off the extra laminations using the Japanese Saw.

We are running the stem through the thickness planer to clean up the extra glue.


Friday, February 1, 2013

woo hoo done plankton


We glued the last plank on the port side.  We celebrated with donuts. 


We attached the plank on the port side.  This was one of the easiest planks to attach because of the experience the students had.

We clamped the final plank and cleaned up the squeeze out. 

We spread a fillet of epoxy on to all the planks to strengthen the joints and fill any gaps.


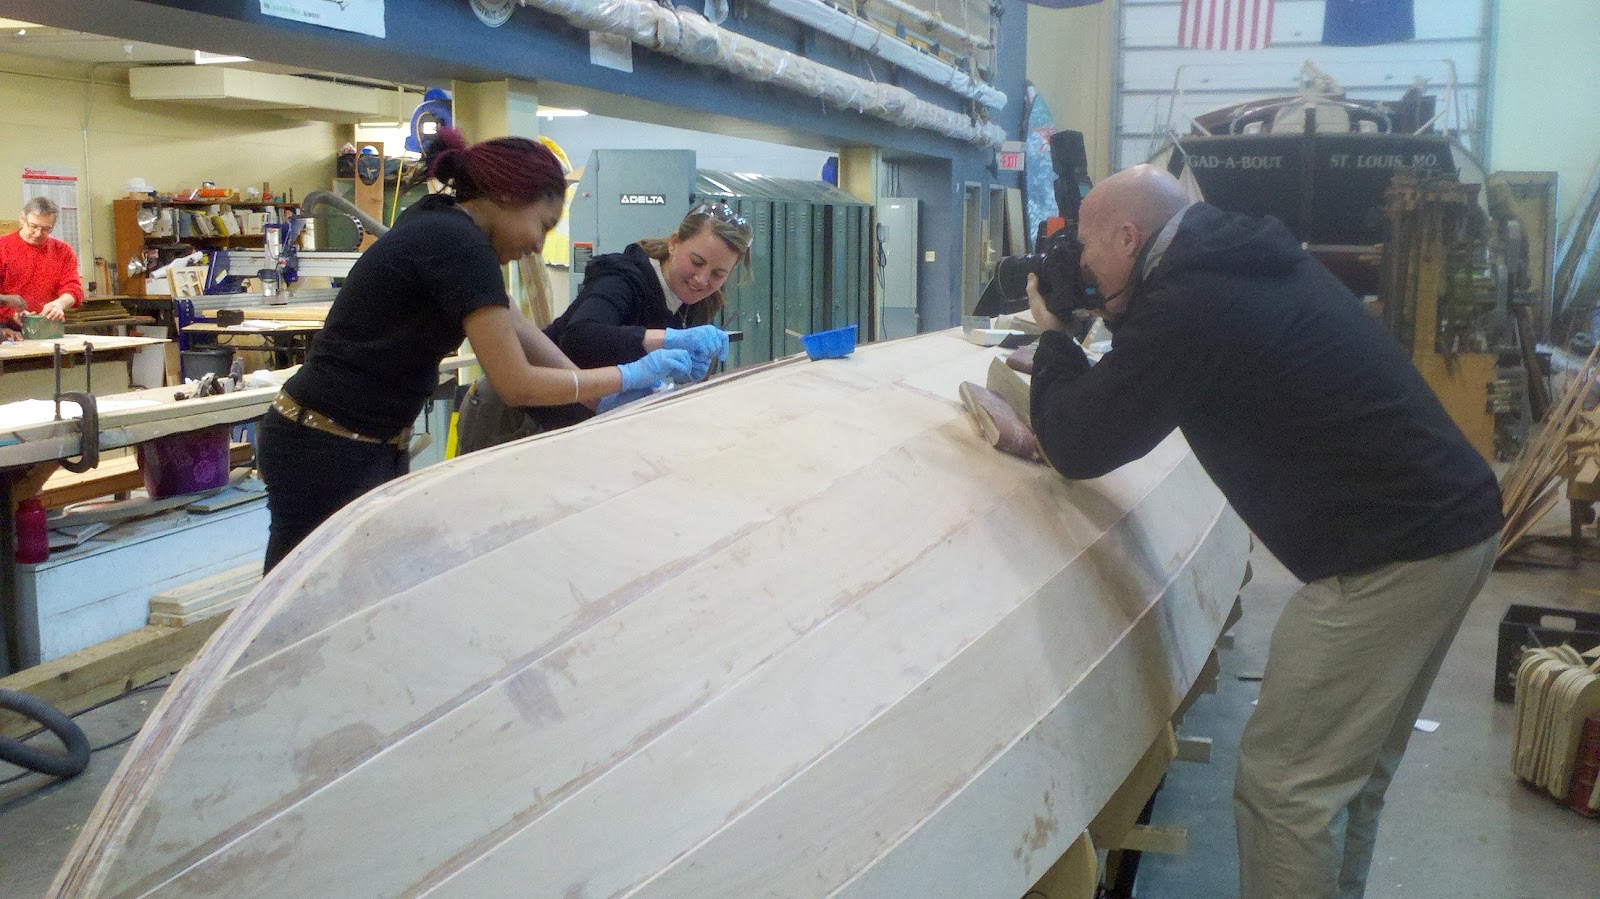
Erie Times News came to our school to photograph the progress of the boat. We'll be in the paper on Tuesday.


Friday, January 25, 2013

Almost done


We put planks together using epoxy.  This is plank number six, it's also our final plank.

A pretty night time picture of the finished starboard side.


Our beautiful frozen bay and our Flagship Niagara.


Thursday, January 17, 2013

two planks one week


We are dry fitting plank 5 on the starboard side.


We are gluing plank 5.


We are gluing on the 5th plank on the port side.

We are spreading glue on both surfaces before we put plank 5 on both sides.
We were routing the left side of one of the rudder cheeks with a router.  We routed one side on each rudder cheek.


We glued the two rudder cheeks on to the rudder and sanded the excess epoxy off.


Friday, January 11, 2013

On to the next...


We are just starting to put the plywood clamps on the 4th plank on the portside.

We are workin as a team to secure the 4th plank while the glue cures.


While they are clamping they are looking for gaps.


We are beveling the frames and planing the land for plank 5.


Friday, January 4, 2013

Another Day, Another Plank


We glued the fourth plank on the starboard side. We lined up registration marks that we drew during the dry fit process.

Clamps were used to hold the plank while the epoxy sets.
Fences were put up so that we wouldn't cut too high up into the plank. 
As you can see progress is being made!  There are three planks on the port side and four planks on the starboard side.

Thursday, December 20, 2012

Half done planking!


Spreading epoxy on to the boat in order to attach plank 3 on the port side. We had to work as a team.

We clamped plank 3 to the stem using a squeeze clamp.


  We used the claw side of the hammer as a lever to put the wedges in the plywood clamps.

We glanced underneath the boat & looked for gaps, if a gap was found it had to be clamped. Also, cleaned up extra glue.


We used a rabbet plane to cut the gain.
We prepped the boat for plank 4.

We spoke-shaved the rudder to make it hydrodynamic.
We used a power plane to flatten a 2" surface where the keel will sit.